The elegance of a mirror sign is irrelevant if specular reflection and material failure make it impossible for guests to read.
- True legibility is an engineering outcome based on material science—using 1/4-inch acrylic to prevent bowing and proper surface preparation to ensure vinyl adhesion.
- The structural load capacity of the display stand is a non-negotiable safety and stability requirement that must far exceed the mirror’s weight.
Recommendation: From the outset, prioritize light management, material integrity, and structural support over purely aesthetic considerations to ensure your signage is both beautiful and functional.
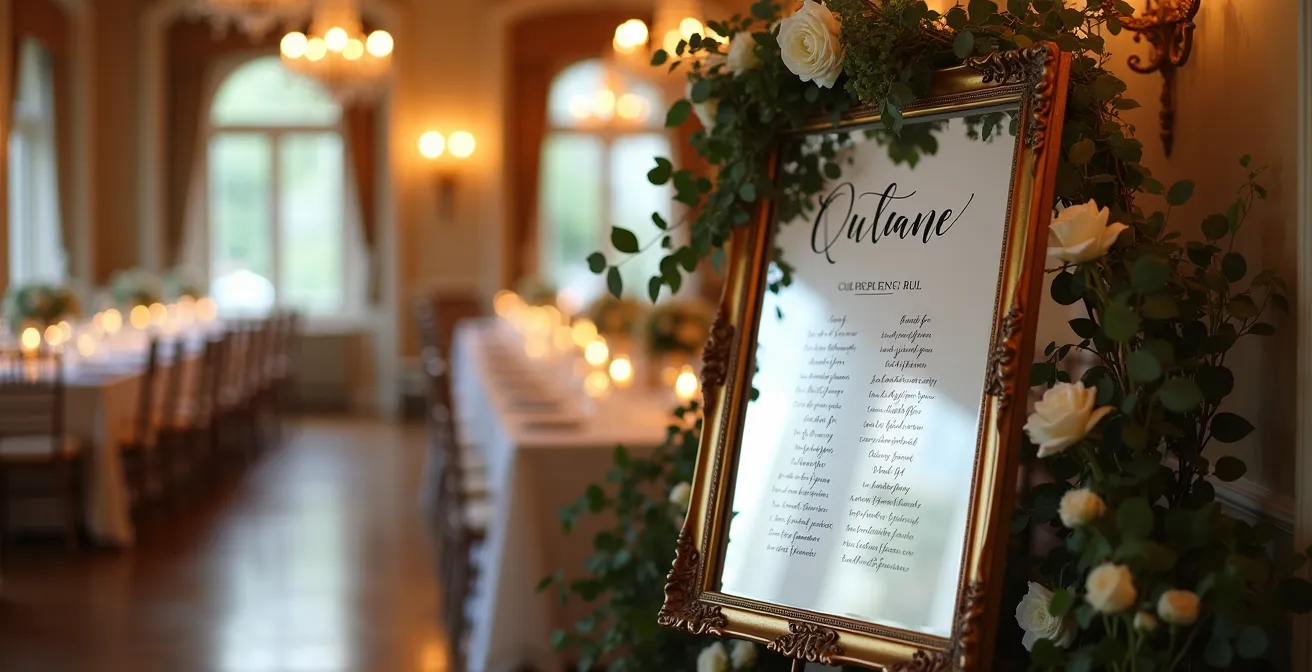
The allure of a mirror seating chart is undeniable. It promises a touch of glamour, reflecting the joy and light of the celebration. Couples and planners often fixate on the calligraphy style, the ornateness of the frame, or the floral accents. These aesthetic choices, while important, completely overlook the fundamental technical challenges that determine whether the sign serves its primary function: to be read. The common advice to “place it in good light” is not only vague but often the very cause of the problem.
The reality is that a successful mirror sign is not an act of decoration but a technical exercise in managing physics. The true enemies of its legibility are specular reflection from lighting, the force of gravity causing bowing, and the chemical reactions between surfaces that lead to vinyl peeling. These are not minor details; they are critical points of failure that can turn an expensive, beautiful object into a frustrating and illegible bottleneck for your guests.
This guide serves as a technical corrective. We will move beyond superficial styling tips to deconstruct the material science and environmental factors that dictate success or failure. By understanding the principles of material thickness, surface preparation, background contrast, and structural support, you can engineer a mirror sign that is flawlessly readable and completely secure. This is the blueprint for executing the vision without succumbing to the common, costly mistakes.
The following sections provide a detailed breakdown of the critical technical specifications and corrective procedures required to produce professional-grade, legible, and safe wedding signage. We will address everything from material selection to display mechanics, ensuring every detail is accounted for.
Summary: A Technical Guide to Flawless Mirror and Acrylic Signage
- Why You Need 1/4 Inch Acrylic to Prevent Signage From Bowing?
- How to Prevent Vinyl Letters From Peeling Off Mirrors in Humidity?
- Painted Back Acrylic vs. Clear: Which Is Easier to Read Against a Busy Background?
- Copper Pipe Stand or Wooden Easel: Which Supports Heavy Mirrors Safely?
- How to Remove Vinyl From Mirrors to Reuse Them in Your Home?
- Why Vinyl Wraps Fail on Uneven or Carpeted Surfaces?
- Custom Fabricated Backdrops vs. Rentals: Which Is Best for Your Vision?
- How to Personalize Your Reception With a Custom Vinyl Dance Floor Wrap?
Why You Need 1/4 Inch Acrylic to Prevent Signage From Bowing?
The structural integrity of your signage is the first point of potential failure. While thinner acrylic sheets, such as 1/8-inch, are cheaper, they lack the rigidity required for standard wedding sign dimensions. Under its own weight, especially in sizes like 12″ x 24″ or larger, a thin sheet will begin to bow or sag in the center. This warping not only looks unprofessional but also distorts the reflections and text, compromising legibility from an angle.
The industry-standard solution is to use 1/4-inch thick acrylic. This thickness provides the necessary structural stability to remain perfectly flat, ensuring a clean, distortion-free surface. The difference is significant, as some users report that 1/4-inch acrylic is “pretty darn thick” and offers superior stability, while thinner materials are consistently prone to bowing, sometimes within hours of being placed on an easel. This is not an aesthetic upgrade; it is a fundamental requirement for a professional-grade product.
Furthermore, the application method for any backing paint can affect stability. Paint should be applied to the backside of the acrylic using a roller for an even coat. This prevents the uneven tension that can be introduced by brush strokes, which can contribute to warping. Allowing at least two hours of drying time between coats is also critical for maintaining the material’s flatness. The choice of material thickness is a foundational decision that impacts every other aspect of the sign’s appearance and longevity.
How to Prevent Vinyl Letters From Peeling Off Mirrors in Humidity?
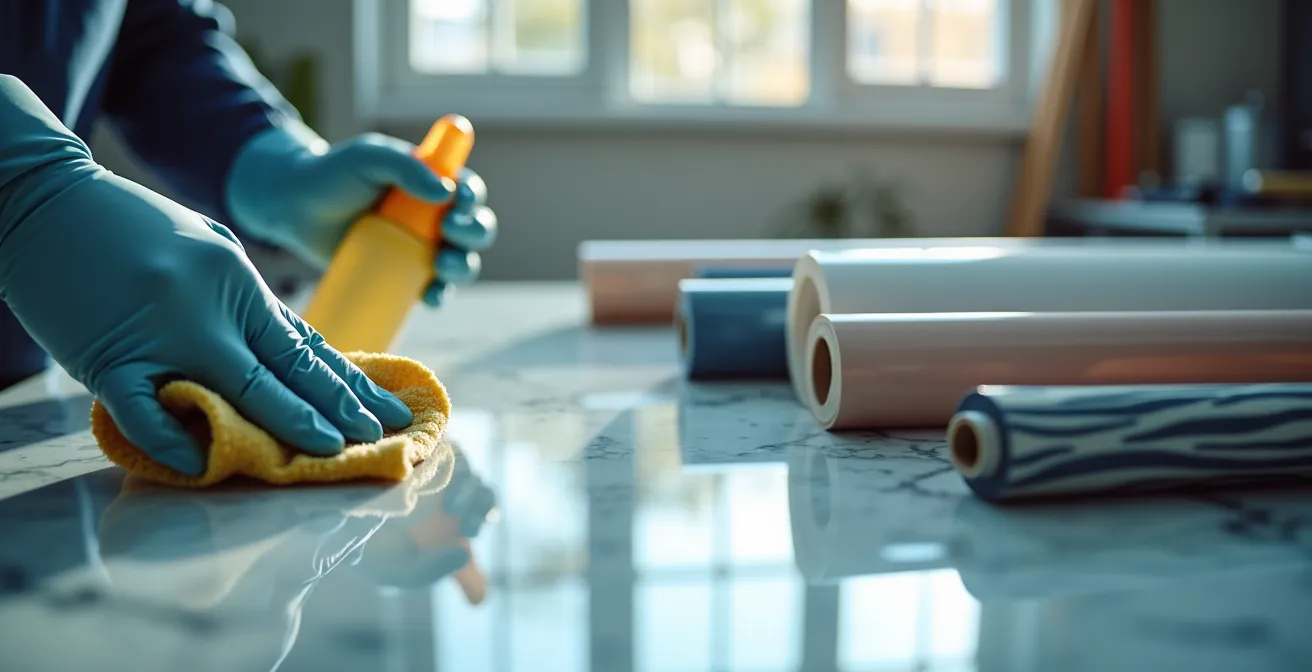
Vinyl peeling is a common and frustrating failure, particularly for events in humid climates or outdoor settings. The cause is almost always improper surface preparation. The primary mistake is using standard glass cleaners like Windex. While they make glass look clean, they leave behind surfactants and residues that create a low-energy surface, preventing vinyl adhesive from forming a permanent bond. This leads to letters lifting at the edges and eventually peeling off.
The corrective procedure requires a chemically pure surface. As professional installers advise, the first step is to remove any existing residue from previous cleanings. This is achieved by cleaning the surface multiple times with isopropyl alcohol. A professional sign installer from a leading industry forum offers a stern warning:
Never use Windex to clean windows. Clean with alcohol several times to get the Windex off and then put the vinyl down once the window is completely dry.
– Professional Sign Installer, Signs101.com Forum Discussion
This critical step ensures the substrate is free of any contaminants that would interfere with adhesion. Use a clean, lint-free microfiber cloth for both cleaning and drying to avoid introducing new particles onto the surface. The mirror must be completely dry before any vinyl application begins.
This meticulous preparation creates a high-energy surface that allows the vinyl’s adhesive to achieve a maximum, durable bond. By replacing household cleaners with isopropyl alcohol, you address the chemical root of adhesion failure, guaranteeing your lettering remains crisp and secure throughout the event, regardless of humidity.
Painted Back Acrylic vs. Clear: Which Is Easier to Read Against a Busy Background?
While clear acrylic or a standard mirror offers a sleek, modern aesthetic, it introduces a significant readability challenge: background interference. Every object, pattern, and person behind the sign becomes visible through or reflected on its surface, creating visual noise that competes directly with the text. This is especially problematic in busy reception venues with intricate wallpaper, brick walls, or high guest traffic. The text can become nearly impossible to decipher against a constantly changing, cluttered backdrop.
A painted-back acrylic sign is the superior technical solution for ensuring legibility in any environment. By applying an opaque layer of paint (white, black, or any color) to the reverse side of the acrylic, you create a solid, high-contrast background for your text. This completely eliminates all background distractions and gives you full control over the sign’s readability. The lettering is viewed against a clean, flat color, making it crisp and clear from any distance and in any lighting condition.
The following table, based on an analysis of professional signage options, breaks down the functional differences in readability. An analysis of premium acrylic signs highlights these key distinctions.
| Feature | Painted Back Acrylic | Clear Acrylic |
|---|---|---|
| Background Interference | None – solid color blocks distractions | High – shows all background elements |
| Lighting Flexibility | Works in any lighting condition | Requires controlled lighting |
| Color Options | White, black, painted, frosted finishes | Transparent only |
| Professional Printing | UV ink adheres better to treated surface | May show through to background |
| Versatility | Suitable for indoor/outdoor use | Best for controlled indoor settings |
Ultimately, the choice between painted and clear acrylic is a choice between controlled legibility and aesthetic risk. For mission-critical information like a seating chart, the engineered clarity of a painted-back sign is the more reliable and professional option.
Copper Pipe Stand or Wooden Easel: Which Supports Heavy Mirrors Safely?
The display stand for a heavy mirror or large acrylic sign is a critical component of safety and stability, yet it is often chosen for its aesthetic rather than its engineering. A heavy mirror can easily weigh 30-50 pounds or more, and placing it on an inadequate stand creates a significant tipping hazard. Many decorative easels, especially lightweight metal designs, are not rated for this kind of structural load.
For instance, a review of typical decorative options reveals a critical limitation: many standard metal easels support 10 pounds maximum, even at a modest height of 30 inches. This is dangerously insufficient for a large, heavy mirror. A stand failure could not only damage an expensive custom sign but also pose a serious risk to guests. The choice of support must be dictated by weight capacity first and foremost.
Heavy-duty wooden easels are often a more reliable solution. Options built from solid wood with a wide base and robust construction can be rated to hold significantly more weight. For example, professional-grade wooden easels are available that can safely hold up to 65 lbs, making them suitable for large signage. These stands often feature adjustable trays to position the sign securely at the correct height. Whether choosing wood, metal, or a custom-built stand, the following checklist provides the essential technical criteria for selection.
Action Plan: Professional Stand Selection Guidelines
- Verify Weight Capacity: Confirm the stand’s maximum load capacity is at least 1.5x the weight of your mirror or sign.
- Check Base Stability: Ensure the stand’s base width is at least 75% of the sign’s width to prevent tipping. Look for triangular support structures and non-slip feet.
- Confirm Hook Adjustability: Select a stand with adjustable height hooks or trays to securely hold the frame at its center of gravity.
- Conduct a Pre-Event Test: Always test the stand with the actual mirror or sign for an extended period before the event day to check for any instability or sagging.
- Optimize the Tilt: Position the stand to allow for a slight downward tilt of the mirror. This helps control specular reflection from overhead lighting.
Treating the stand as a piece of safety equipment, rather than just decor, is essential for a secure and successful display.
How to Remove Vinyl From Mirrors to Reuse Them in Your Home?
One of the key benefits of investing in a beautiful mirror for your wedding signage is the ability to repurpose it as a piece of home decor. However, this requires removing the vinyl lettering without scratching the mirror or leaving behind a sticky adhesive residue. The process is straightforward but requires patience and the correct tools to avoid causing permanent damage.
The most effective method relies on heat to soften the adhesive. A standard hair dryer is the perfect tool for this task. Set it to a medium or high heat setting and hold it a few inches away from a section of the vinyl lettering, moving it back and forth continuously to warm the area evenly. Do not hold it in one spot for too long, as excessive localized heat can be a risk to some mirror backings or frames.
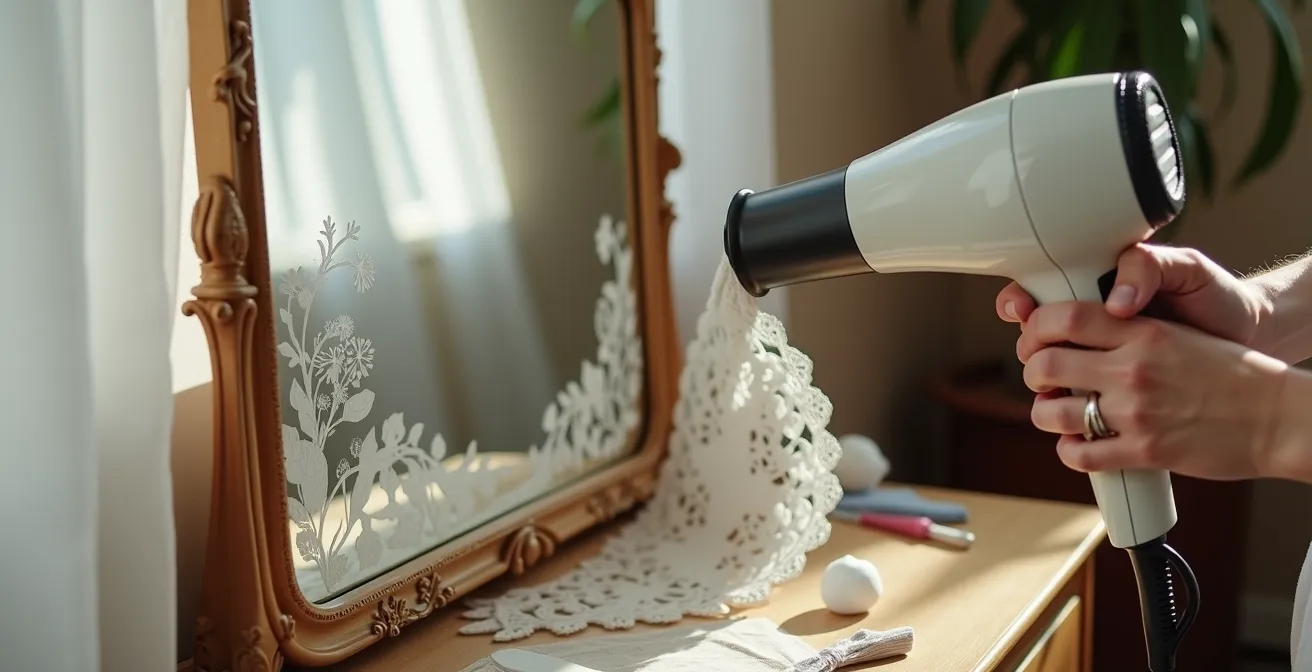
After 30-60 seconds of heating, the vinyl’s adhesive will soften. You can then use your fingernail or, for more leverage, a plastic scraper or old credit card to gently lift a corner of a letter. It is critical to use plastic, not a metal razor blade, which will inevitably scratch the glass surface. Once a corner is lifted, you can slowly peel the rest of the letter off, applying more heat as needed if you encounter resistance. The vinyl should come off in large pieces. To remove any lingering adhesive residue, use a cloth dampened with isopropyl alcohol or a specialized adhesive remover like Goo Gone, then clean the entire mirror.
Why Vinyl Wraps Fail on Uneven or Carpeted Surfaces?
The success of any vinyl application, whether on a sign or a dance floor, depends on one core principle: the substrate must be perfectly smooth, rigid, and non-porous. Vinyl adhesive is designed to form a powerful bond with high-energy surfaces like glass, acrylic, or sealed wood. When applied to an unsuitable surface, adhesion failure is not a risk; it is a certainty.
Carpeted surfaces represent a worst-case scenario. The surface is porous, full of texture, and flexible. Vinyl cannot adhere to fabric fibers, and any pressure from foot traffic will cause the vinyl to shift, bubble, and lift immediately. The same principle applies to other uneven surfaces like textured walls, raw wood, or rough concrete. The adhesive can only bond with the high points of the texture, leaving most of it unsupported and destined to fail.
Even seemingly perfect surfaces like glass can have invisible issues. Professionals note that manufacturing processes can sometimes create flaws that inhibit adhesion. As one expert window tinter explains, some glass is inherently problematic:
There are manufacturing errors on tempered glass that make them non-stick. Too much of a silicone-like product used in manufacturing alters the surface. It never goes away, and there is no known foolproof way to get rid of it.
– Professional Window Tinter, Signs101 Professional Forum
While this is a rare occurrence, it underscores the importance of the substrate. For any vinyl application, the surface must be meticulously prepared. As experts from TeckWrap Craft advise, proper surface preparation is the key to longevity. It must be washed, dried with a microfiber cloth, and finally cleaned with isopropyl alcohol to remove all traces of grease and grime, ensuring it is “squeaky clean” before application.
Custom Fabricated Backdrops vs. Rentals: Which Is Best for Your Vision?
When using a mirror or clear acrylic sign, the background is not just a backdrop; it is an integral part of the sign itself. As discussed, a busy or reflective background can destroy legibility. This is where the decision between a custom-fabricated backdrop and a standard rental becomes a critical technical choice for controlling the visual environment.
Rental backdrops, such as sequin walls, flower walls, or fabric draping, are often chosen for convenience and cost. However, they present a significant gamble for reflection control. Sequin walls are highly reflective and will create a dazzling but distracting glare on the mirror’s surface. Even some flower or boxwood walls can create a busy, textured reflection that makes text difficult to read. You have little to no control over the material properties of a rental item.
A custom-fabricated backdrop offers complete control. It can be designed from the ground up with non-reflective materials, such as matte-painted panels or absorbent fabrics, to create a perfect, non-competing canvas for your signage. Furthermore, the sign can be built directly into the backdrop’s design, creating a seamless and integrated look. This comparison table highlights the functional trade-offs:
| Feature | Custom Fabricated | Rental Options |
|---|---|---|
| Reflection Control | Designed with non-reflective materials | Often highly textured or reflective |
| Integration Options | Signage can be built directly into design | Requires separate signage setup |
| Visual Compatibility | Tailored to complement mirror elements | May create busy or glaring reflections |
| Cost Consideration | Higher upfront investment | Lower initial cost |
| Post-Wedding Value | Can be repurposed as home decor | No lasting value after event |
While a custom backdrop requires a higher initial investment, it is an investment in guaranteed legibility and visual coherence. For couples prioritizing a flawless execution of their vision, engineering the background is as important as designing the sign itself.
Key Takeaways
- Material Is Non-Negotiable: Use 1/4-inch thick acrylic as the minimum standard for signs to prevent bowing and distortion. Thinner materials will fail.
- Surface Prep Is Chemical: Always use isopropyl alcohol to clean mirror or acrylic surfaces before vinyl application. Household cleaners like Windex leave residues that guarantee adhesion failure.
- Safety Through Structure: The display stand’s certified weight capacity must significantly exceed the sign’s actual weight. A decorative easel is not a substitute for an engineered support structure.
How to Personalize Your Reception With a Custom Vinyl Dance Floor Wrap?
A custom vinyl dance floor wrap can be a spectacular focal point, transforming a generic space into a personalized environment. However, just like with mirror signage, a critical technical mistake involving light reflection can undermine the entire effect, particularly for photography and videography. A high-gloss vinyl floor acts as a giant, dark mirror, reflecting every spotlight, overhead light, and camera flash.
This creates a host of problems. For guests, the glare can be uncomfortable. For photographers, it’s a technical nightmare, causing massive lens flare and blown-out highlights that can ruin key shots like the first dance. The beautiful monogram or pattern you designed becomes lost in a sea of harsh reflections. The solution, once again, lies in material science and light management. The finish of the vinyl is the most important decision you will make.
To ensure perfect clarity and photogenic results, you must opt for a matte-finish or textured vinyl. As a professional wedding photographer cited in an industry guide explains, the material choice is critical for documentation:
Matte-finish or textured vinyls absorb light for perfect clarity during photography, preventing lens flare and exposure problems that plague high-gloss floor vinyl.
– Professional Wedding Photographer, Industry Best Practices Guide
This choice absorbs ambient light rather than reflecting it, allowing the design to remain visible and the photos to be clean and vibrant. For a more dynamic look, some designs mix matte and gloss elements to create a subtle shimmer without causing overwhelming glare. As with any large vinyl installation, proper surface preparation with alcohol-based cleaners and allowing a 72-hour curing period before heavy foot traffic are essential for durability.
By applying a technical, problem-solving mindset to every decorative element, from a seating chart to the dance floor, you move beyond simple aesthetics. You engineer an experience that is not only beautiful but also functional, safe, and flawless in its execution. To ensure every element of your wedding is designed for success, begin by auditing your choices against these potential points of physical failure.