The fear that gold foil will make your invitations unreadable is valid, but the solution isn’t to use less foil—it’s to use foil smarter by strategically controlling how it interacts with light, paper, and color.
- True luxury comes from hot foil stamping, which creates a physical impression in the paper, while digital foil is a flat, printed effect.
- Foil’s legibility depends on a delicate balance: pairing it with muted, desaturated colors and choosing a matte or brushed finish over a shiny one to minimize glare.
Recommendation: To ensure elegance and readability, limit foil to less than 25% of the invitation’s surface, using it to highlight key information like names and the date, rather than for large blocks of text.
There is a specific moment of anxiety that many couples face when designing their wedding invitations. You’ve fallen in love with the luminous, celebratory appeal of gold foil, but a nagging thought persists: what if it’s all glare and no grace? What if your guests, instead of admiring the elegance, are squinting to decipher the details of your special day? This fear often leads to compromises, with many assuming the only solutions are to drastically increase font sizes or to relegate foil to a tiny, almost invisible accent. The conventional advice centers on avoiding the problem rather than mastering the medium.
But this approach misses the point. The key to using gold foil successfully isn’t about diminishing its presence; it’s about understanding and manipulating its properties. As a typography and readability expert, I can tell you that foil is not just a color—it is an optical element. Its beauty and its potential pitfalls both stem from a single source: its interaction with light. When you learn to control that interaction through the right techniques, finishes, and paper choices, you transform foil from a potential readability hazard into a powerful tool for creating visual hierarchy and sophisticated design.
This guide will move beyond the platitudes. We will not just tell you what to do; we will explain the science behind why certain combinations work and others fail. We’ll explore the difference between a luxurious debossed stamp and a flat digital finish, how to select a foil color that complements your venue’s lighting, and the crucial color theory mistakes that can make an invitation look garish instead of grand. By the end, you will be equipped to make informed decisions that ensure your invitations are both stunningly beautiful and perfectly legible.
To navigate this intricate topic, this article breaks down the essential considerations into clear, actionable sections. Below is a summary of the key areas we will cover, guiding you from foundational choices about foil type to the final design principles that ensure a flawless result.
Summary: A Comprehensive Guide to Using Foil in Wedding Stationery
- Real Hot Foil or Digital Toner Foil: Which Looks Less “Crafty”?
- Rose Gold, Copper, or Brass: Which Foil Matches Your Decor Best?
- Why Foil Stamping Fails on Heavily Textured Handmade Paper?
- How to Test if Your Digital Foil Will Flake Off in the Mail?
- Brushed vs. Shiny Gold: Which Complements Your Flatware Best?
- The Color Saturation Mistake That Makes Weddings Look Like Nightclubs
- Which Elements Should Be Foiled to Avoid the “Bling” Look?
- How Your Invitation Suite Sets the Tone Before Guests Even Arrive?
Real Hot Foil or Digital Toner Foil: Which Looks Less “Crafty”?
The first crucial decision in your foil journey is choosing the application method, as this fundamentally defines the final look and feel. The two main contenders are traditional hot foil stamping and modern digital foiling. While both add metallic shine, they are worlds apart in texture and perceived luxury. Hot foil stamping is the undisputed champion of high-end stationery. This process uses a heated custom metal die to press the foil into the paper’s surface. The result is a beautiful, tactile impression—or deboss—that you can both see and feel. This physical depth catches the light in a subtle, dimensional way, communicating craftsmanship and quality.
In contrast, digital foil (also known as toner foil) is a flat, surface-level application. It works by printing a design with black toner, laying a sheet of foil over it, and running it through a heat source like a laminator. The foil adheres only to the toner. While it’s a more accessible and cost-effective method for small batches or DIY projects, it lacks the tactile depth of hot foil. Under light, it can sometimes appear plasticky and one-dimensional, missing the sophisticated debossed effect. As one case study on hybrid printing shows, stationers often combine digital printing for variable text with hot foil for monograms to balance cost and luxury.
The difference is not just aesthetic but also about the physical experience. The slight indentation of hot foil creates a micro-shadow around the letters, which can actually improve definition and readability, while the perfectly flat surface of digital foil relies solely on color contrast. A simple physical test can often reveal the method used, helping you assess the quality of a sample.
Your Quick Guide: The Finger & Light Test for Identifying Foil Types
- Run your finger gently over the foiled area. If you can feel a distinct depression or indentation, it is almost certainly hot foil stamping.
- Now, feel the rest of the invitation’s surface. If the foiled element feels completely flat and integrated with the paper, it indicates digital toner foil.
- Tilt the invitation under a bright light source, observing it from various angles to assess the light reflection.
- Look for depth in the reflection. Hot foil exhibits a deeper, more authentic metallic luster, while digital foil can sometimes have a flatter, more uniform shine.
- Check the edges of the foiled design up close. Hot foil produces crisp, clean edges, whereas digital foil might show slight pixelation or fuzziness upon very close inspection.
Ultimately, while digital foil offers a practical way to achieve a metallic look, hot foil stamping delivers an unparalleled sense of luxury and permanence that looks intentionally designed, not “crafty.”
Rose Gold, Copper, or Brass: Which Foil Matches Your Decor Best?
Once you’ve chosen your method, the next step is selecting the foil’s color. This choice should not be made in a vacuum; it’s a critical design element that must harmonize with your wedding’s overall aesthetic and, most importantly, your decor. Thinking about foil not just as a color but in terms of its color temperature—warm, cool, or neutral—is key to creating a cohesive look. Classic yellow gold is versatile, but exploring warmer alternatives can add a unique and personal touch.
Rose gold, with its pinkish hue, exudes modern romance and pairs beautifully with blush, cream, and dusty rose color palettes. It’s an excellent choice for spring or summer weddings with a soft, romantic theme. Copper offers a warmer, more rustic and industrial-chic vibe. Its rich, reddish-brown undertones work wonderfully with deep greens, navy blues, and natural textures like wood and leather, making it perfect for autumn weddings or barn venues. Finally, brass provides a more muted, antique-gold feel. It’s less yellow than classic gold and has an old-world sophistication that complements vintage themes, jewel tones, and historic venues.
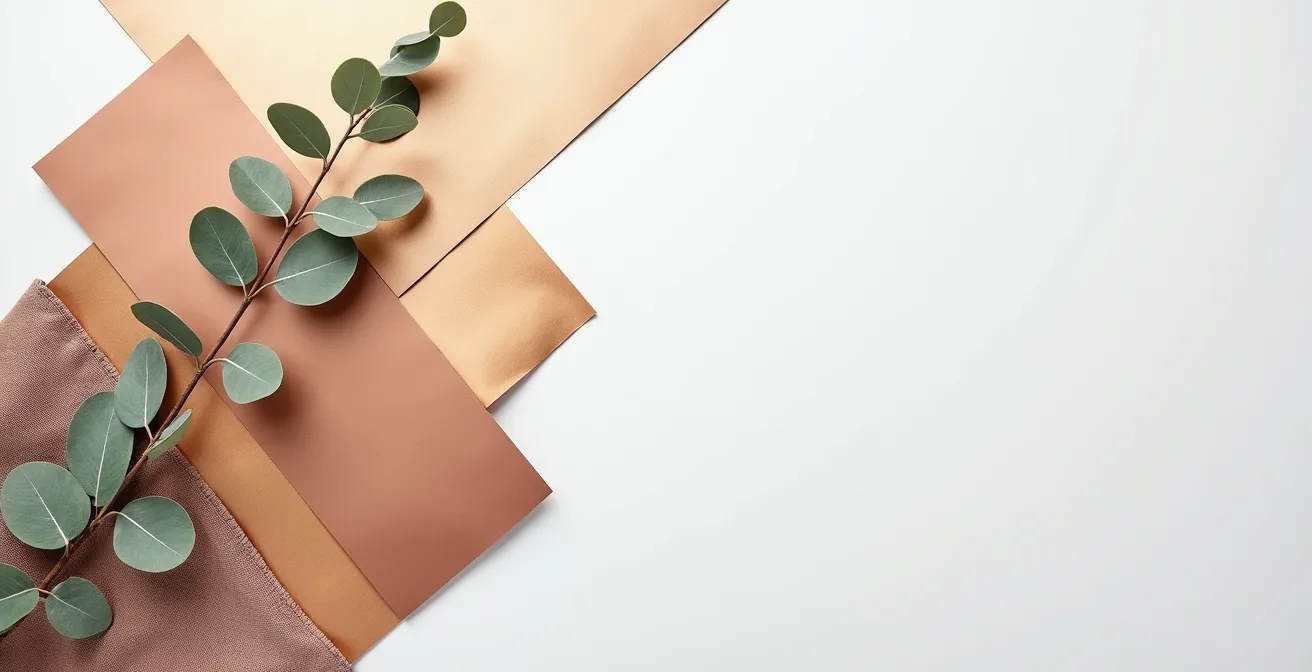
As the image above illustrates, laying out foil swatches against your color palette is an essential step. Your invitation is the first glimpse guests have of your wedding style. The foil color should be a deliberate preview of the metallic accents they will see on the day, from the table settings to the floral arrangements. This creates a powerful and cohesive design narrative that feels intentional and thoughtfully curated from the very first impression.
The right choice will not only enhance your invitations but also create a seamless visual story that connects your stationery to the event itself, making the entire experience feel more immersive and well-designed.
Why Foil Stamping Fails on Heavily Textured Handmade Paper?
There’s an undeniable romance to heavily textured, handmade paper. Its deckled edges and organic surface feel special and artisanal. It’s a natural impulse to want to combine this beautiful paper with the elegance of foil stamping. However, this is a classic case where two beautiful things don’t always work well together. The very quality that makes textured paper so appealing—its uneven surface—is what makes it a poor candidate for successful foil stamping. The process simply cannot achieve a clean transfer on a surface full of hills and valleys.
The mechanics of hot foil stamping rely on two things: heat and uniform pressure. The heated metal die must press the foil onto the paper with even force across the entire design. On a smooth paper, this is no problem. But on a heavily textured sheet, the die only makes firm contact with the “peaks” of the paper’s surface. The “valleys” don’t receive enough pressure, leading to an incomplete transfer. This results in a patchy, broken, and unprofessional-looking application where parts of the design are missing. As the experts at Copper and Blush Paper Design Studio explain:
Hot foil stamping requires uniform pressure to transfer foil. On textured paper, the ‘valleys’ don’t make contact with the heated plate, resulting in patchy, incomplete transfer.
– Copper and Blush Paper Design Studio, The Ultimate Guide to Wedding Invitation Printing
This doesn’t mean you have to abandon your love for texture entirely. It simply requires a strategic workaround. Instead of trying to force foil onto an unsuitable surface, you can use techniques that honor both the foil’s need for smoothness and the paper’s natural texture. Clever design choices allow you to have the best of both worlds without compromising the quality of the final product. For instance, you might foil a separate, smoother piece of card and layer it on top of your textured paper.
If you’re set on a textured look, here are three expert-approved methods to achieve an elegant result:
- Blind Debossing: This technique uses a heated die to press the design into the textured paper *without* any foil. It creates a subtle, elegant impression that works with the paper’s natural texture, adding dimension without the risk of a patchy finish.
- Card Mounting Technique: Apply the foil stamping to a smaller, smooth card, and then mount it onto your textured paper backing. This creates a beautiful contrast in textures and ensures the foil is perfectly crisp and clean.
- Compromise Papers: Opt for papers with a light texture, such as an “eggshell” or “felt” finish. These papers offer a subtle tactile quality but remain smooth enough to allow for a clean, consistent foil impression.
By choosing the right technique or paper, you can avoid the disappointment of a failed foil application and create an invitation that is both tactile and beautifully finished.
How to Test if Your Digital Foil Will Flake Off in the Mail?
While hot foil stamping is pressed into the paper, digital foil sits on the surface, bonded by heat to toner. This makes it more vulnerable to damage, especially the kind of friction and bending it will experience in postal sorting machines. There is nothing more disappointing than spending time and money on beautifully foiled invitations, only to have them arrive at their destination scuffed and flaking. This is a particular concern for DIY or budget-friendly digital foil projects where the adhesion may not be as robust as a professional application.
Fortunately, you don’t have to leave it to chance. Before you send out your entire batch of invitations, you should perform a few simple but crucial durability tests. These tests simulate the stress the invitations will undergo during mailing and will quickly reveal if your foil application is sound or if you need to adjust your materials or methods. One bride’s DIY foiling success story highlights that using high-quality coated cardstock and finding the perfect heat setting on a laminator were key to preventing flaking, ultimately costing just $0.51 per invitation versus over $3 for professional options.
Performing these checks is a non-negotiable quality control step. It provides peace of mind and ensures that the first impression your guests have is one of polished elegance, not a “craft project” that couldn’t survive the journey. It’s a small investment of time that protects your larger investment in the invitations themselves.
Your Action Plan: The 3-Step Foil Durability Test
- The Nail & Crease Test: Gently scratch a corner of a foiled area with your fingernail. Then, create a sharp crease in the paper directly across the foiled design. If you see significant flaking or cracking along the crease, it’s a sign of poor adhesion.
- The Sticky Tape Test: Apply a piece of standard clear office tape firmly over a section of the foil. Rub it down to ensure good contact, then peel it off with a quick, smooth motion. If more than a few tiny specks of foil come off with the tape, the bond is likely too weak for mailing.
- The Self-Mail Test: This is the ultimate real-world test. Place one of your sample invitations in the exact envelope you plan to use, address it to yourself, and mail it. When it arrives, inspect it carefully for any scuffing, scratching, or flaking that occurred during its journey through the postal system.
If your sample fails these tests, you may need to try a different brand of foil, use a smoother or coated paper stock, or adjust the heat and pressure settings of your foiling machine.
Brushed vs. Shiny Gold: Which Complements Your Flatware Best?
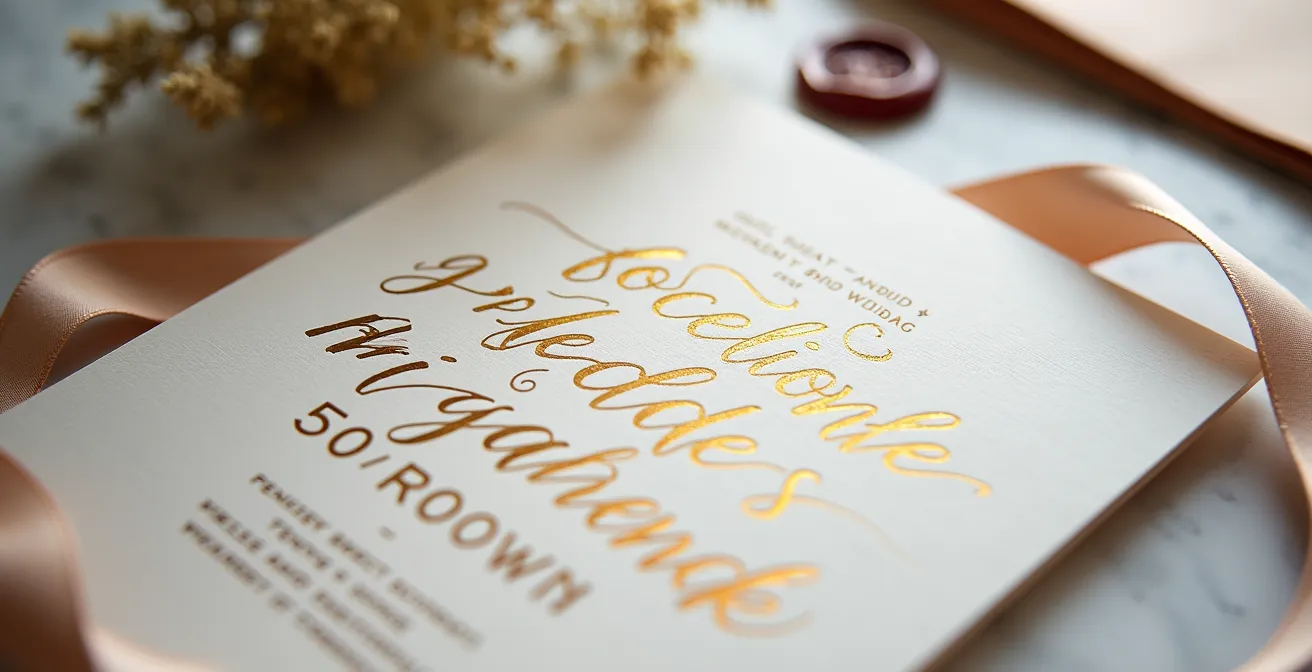
Beyond color, the *finish* of the foil plays a monumental role in readability and overall aesthetic. This choice is all about controlling the quality of light reflection. A shiny, mirror-like finish creates sharp, direct reflections, which can cause significant glare under bright light, making text difficult to read. In contrast, a brushed or matte finish diffuses light, producing a soft, elegant glow instead of a harsh glare. For any text-heavy elements, a matte or brushed finish is almost always the superior choice for legibility.
This decision should also be informed by the other metallic elements of your wedding decor, creating a cohesive visual language. Think about your reception: will you have polished, gleaming flatware or a more vintage, satin-finish set? A shiny foil on your invitation will echo the look of polished cutlery and glamorous decor, while a brushed gold foil will perfectly complement satin-finished flatware and an atmosphere of understated sophistication. As Ashley Bunten Design notes, you should “Consider all metallic elements of your venue decor – chandeliers, chargers, table number stands, Chiavari chairs – for cohesive design.”
The foil’s finish also dramatically impacts how your invitations will look in photographs. A shiny foil can create harsh hotspots with flash photography, while a matte foil will consistently render as a beautiful, warm glow. The following table breaks down how each finish interacts with other decor elements and its impact on the overall aesthetic.
This comparative guide, based on analysis from stationery experts, can help you match your foil finish to your overall wedding vision. As shown in a digital foiling guide, the right finish creates harmony between your stationery and your event decor.
| Foil Finish | Best Flatware Match | Photography Impact | Overall Aesthetic |
|---|---|---|---|
| Shiny/Mirror Gold | Polished, gleaming flatware | Can create harsh glares with flash | Glamorous, luxurious |
| Brushed/Matte Gold | Brushed, satin, or vintage flatware | Soft, elegant glow in photos | Understated sophistication |
| Rose Gold | Copper or rose-tinted metals | Warm, romantic lighting | Trendy, modern romance |
By thinking about your invitation foil as the opening note in your event’s design symphony, you ensure a harmonious and sophisticated experience from start to finish.
The Color Saturation Mistake That Makes Weddings Look Like Nightclubs
One of the most common and jarring mistakes in invitation design is pairing shimmering foil with highly saturated background colors. The combination of, for example, bright gold foil on a lime green or hot pink paper creates intense visual competition. Instead of complementing each other, the foil and the background fight for attention, resulting in a design that feels cheap and overwhelming—more akin to a nightclub flyer than an elegant wedding invitation. This high-contrast, high-saturation look destroys any sense of sophistication and can be physically taxing for the eyes to read.
The key to an elegant design lies in the desaturation principle. To make the foil the star of the show, its companion colors must play a supporting role. This means choosing muted, dusty, or deep tones that provide a calm and sophisticated canvas upon which the foil can shine. A deep navy or a soft sage green allows the gold foil to pop in a refined way, creating a beautiful optical hierarchy where the eye is naturally drawn to the most important (foiled) information. This approach feels classic, luxurious, and timeless.
A perfect real-world example of this principle in action is the selection of “Marseille Bleu” as a wedding color of the year. This muted, dusty blue-gray provides an exquisite backdrop for both gold and silver foils. As highlighted in a report on 2024 wedding trends, its desaturated nature creates a sophisticated contrast that feels both modern and timeless, proving that elegance lies in restraint. By following this principle, you ensure your invitations evoke a sense of serene luxury, not sensory overload.
To apply this to your own design, follow these guidelines for pairing colors with metallic foils:
- Choose Muted Companions: Instead of lime green, opt for a sophisticated sage green. This creates a natural, earthy elegance that lets the gold foil breathe.
- Opt for Dusty Tones: When considering pink, select a dusty rose over a vibrant hot pink. The muted tone reads as romantic and soft, not loud.
- Consider Depth Over Vibrancy: A deep, rich navy paired with gold is a classic combination that exudes formality. A bright royal blue, however, can often look corporate or jarring.
- Test Under Different Lighting: View your paper and foil combinations in various lighting conditions—natural daylight, warm incandescent light, and even candlelight—to see how the relationship changes.
- Reference Fine Art: Look to classical and Renaissance paintings for inspiration. Artists from these periods were masters at using gold leaf against rich, deep colors to create a sense of divinity and importance.
By embracing desaturated tones, you create a visual harmony that ensures your invitations are perceived as elegant, tasteful, and easy to read.
Which Elements Should Be Foiled to Avoid the “Bling” Look?
The difference between an elegant invitation and one that looks “blingy” often comes down to one word: restraint. A common impulse is to foil as much as possible, but this is a critical error. When too much of the surface is covered in foil, no single element stands out, and the overall effect can be overwhelming and difficult to read. The goal is to create an optical hierarchy, using foil strategically to guide the guest’s eye to the most important information. This means being selective about which elements are given the metallic treatment.
As a general guideline, professional designers recommend that foil should cover 25% or less of the invitation’s surface area. This ensures the foil acts as a highlight, not the main background. The most effective use of foil is to accent the most critical pieces of information: the couple’s names, the wedding date, or a beautiful monogram. By foiling only these elements, you immediately signal their importance. The rest of the information—venue details, time, RSVP instructions—should be printed in a high-contrast, non-foiled ink, ensuring maximum readability.
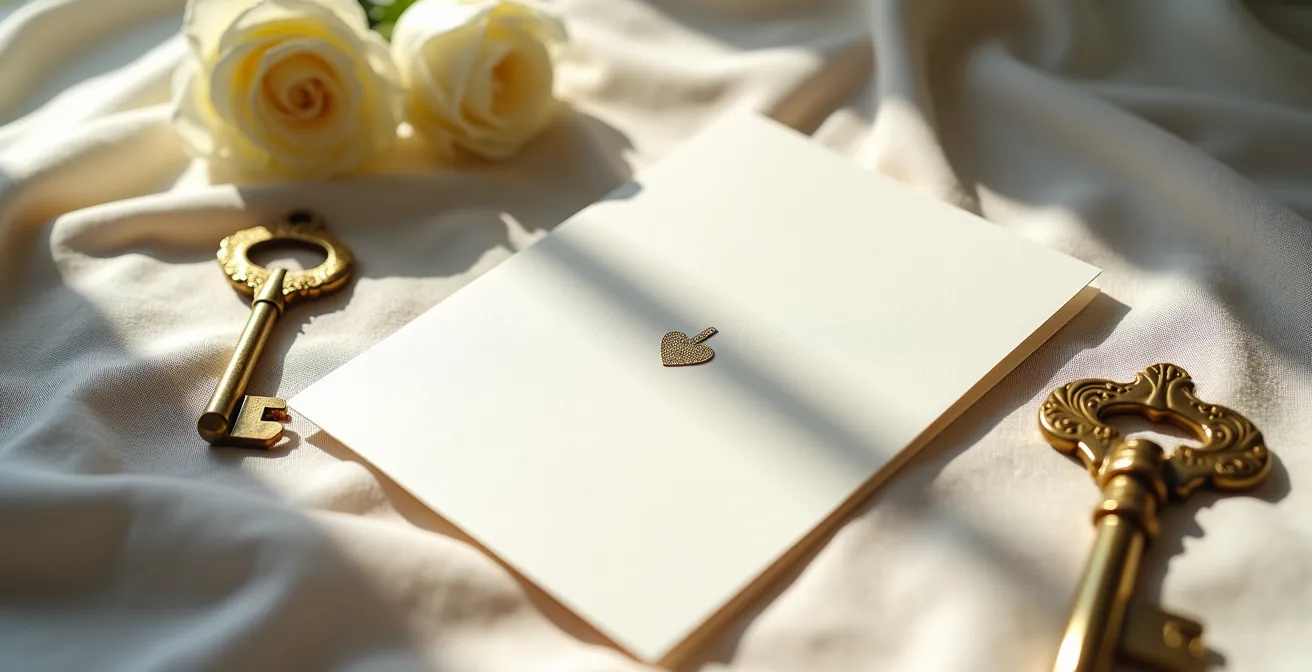
This minimalist approach, as shown in the example above, is far more impactful. The negative space and the contrast between the foiled and un-foiled text create a balanced, sophisticated composition. The foil becomes a special, deliberate touch rather than an all-over pattern. As the Dauxin Design Team notes, “Small, strategic foil highlights like a logo or call-out are often more visually impactful and cost-effective than covering the entire invitation.” This selective application not only improves legibility but also elevates the entire design, making it feel more intentional and luxurious.
By using foil with purpose and restraint, you ensure it enhances your design and communicates importance, rather than overwhelming it.
Key takeaways
- Foil is an optical element; mastering it is about controlling light with the right finish (matte vs. shiny) and paper texture.
- True luxury comes from the tactile impression of hot foil stamping, which creates a physical depth that digital foil cannot replicate.
- Less is more. To maintain elegance and readability, use foil strategically on 25% or less of the surface, highlighting only the most crucial information.
How Your Invitation Suite Sets the Tone Before Guests Even Arrive?
Long before the music starts or the first glass of champagne is poured, your wedding invitation has already begun to tell a story. It is the prologue to your event, the very first physical touchpoint your guests will have with your wedding day. Its design and quality do more than just convey information; they set expectations and establish the tone. A flimsy, poorly designed invitation suggests a casual affair, while a substantial, thoughtfully crafted one signals an event of significance and formality. The choice to use a method like hot foil stamping contributes directly to this perception.
The tactile experience of an invitation is a powerful, often subconscious, messenger. The weight of the paper and the texture of the printing are the first things a guest will notice. As the designers at Banter and Charm so perfectly articulate, this physical sensation is packed with meaning. In their guide to wedding stationery, they state:
The physical weight of thick cardstock combined with the debossed texture of foil communicates the significance and formality of the event before a single word is read.
– Banter and Charm Design Studio, Wedding Stationery Guide: Foil Stamping
This demonstrates that choices like paper thickness and foil application are not mere decorative details; they are integral to the guest experience. Furthermore, true sophistication in the modern era extends to inclusivity. Top-tier wedding planners now champion the idea of creating a small print run of high-contrast, non-foiled invitations for guests with visual impairments. This thoughtful gesture ensures that every single guest feels welcomed and considered, proving that the ultimate luxury is not just about aesthetics, but about empathy and accessibility.
Ultimately, a well-executed invitation that balances beauty with perfect readability is a promise to your guests: it tells them that you have considered every detail of their experience, and it sets the stage for an event that will be just as thoughtful and elegant.